Creating winter planters can seem like a daunting task to those of us who are not design gifted by nature. Luckily, there are some basic principles that can help the most non-creative of us put together a spectacular outdoor display that ushers in the holidays and with just a few minor adjustments now and then can bring cheer to the long winter months.
BASIC DESIGN TIPS
#1 KNOW YOUR ANGLE
Part of the problem with my neighbor’s planters is their lack of a definite perspective. It’s important to understand how the arrangement will be viewed. Some planters are meant to frame a doorway and will be viewed from only one side. Others, like my neighbor’s, will be viewed from all sides, just like a centerpiece on a dining table. Understanding the viewing perspective helps to determine where the arrangement’s materials should be placed.
.jpg)
#2 SEE HOW THE PIECES FIT
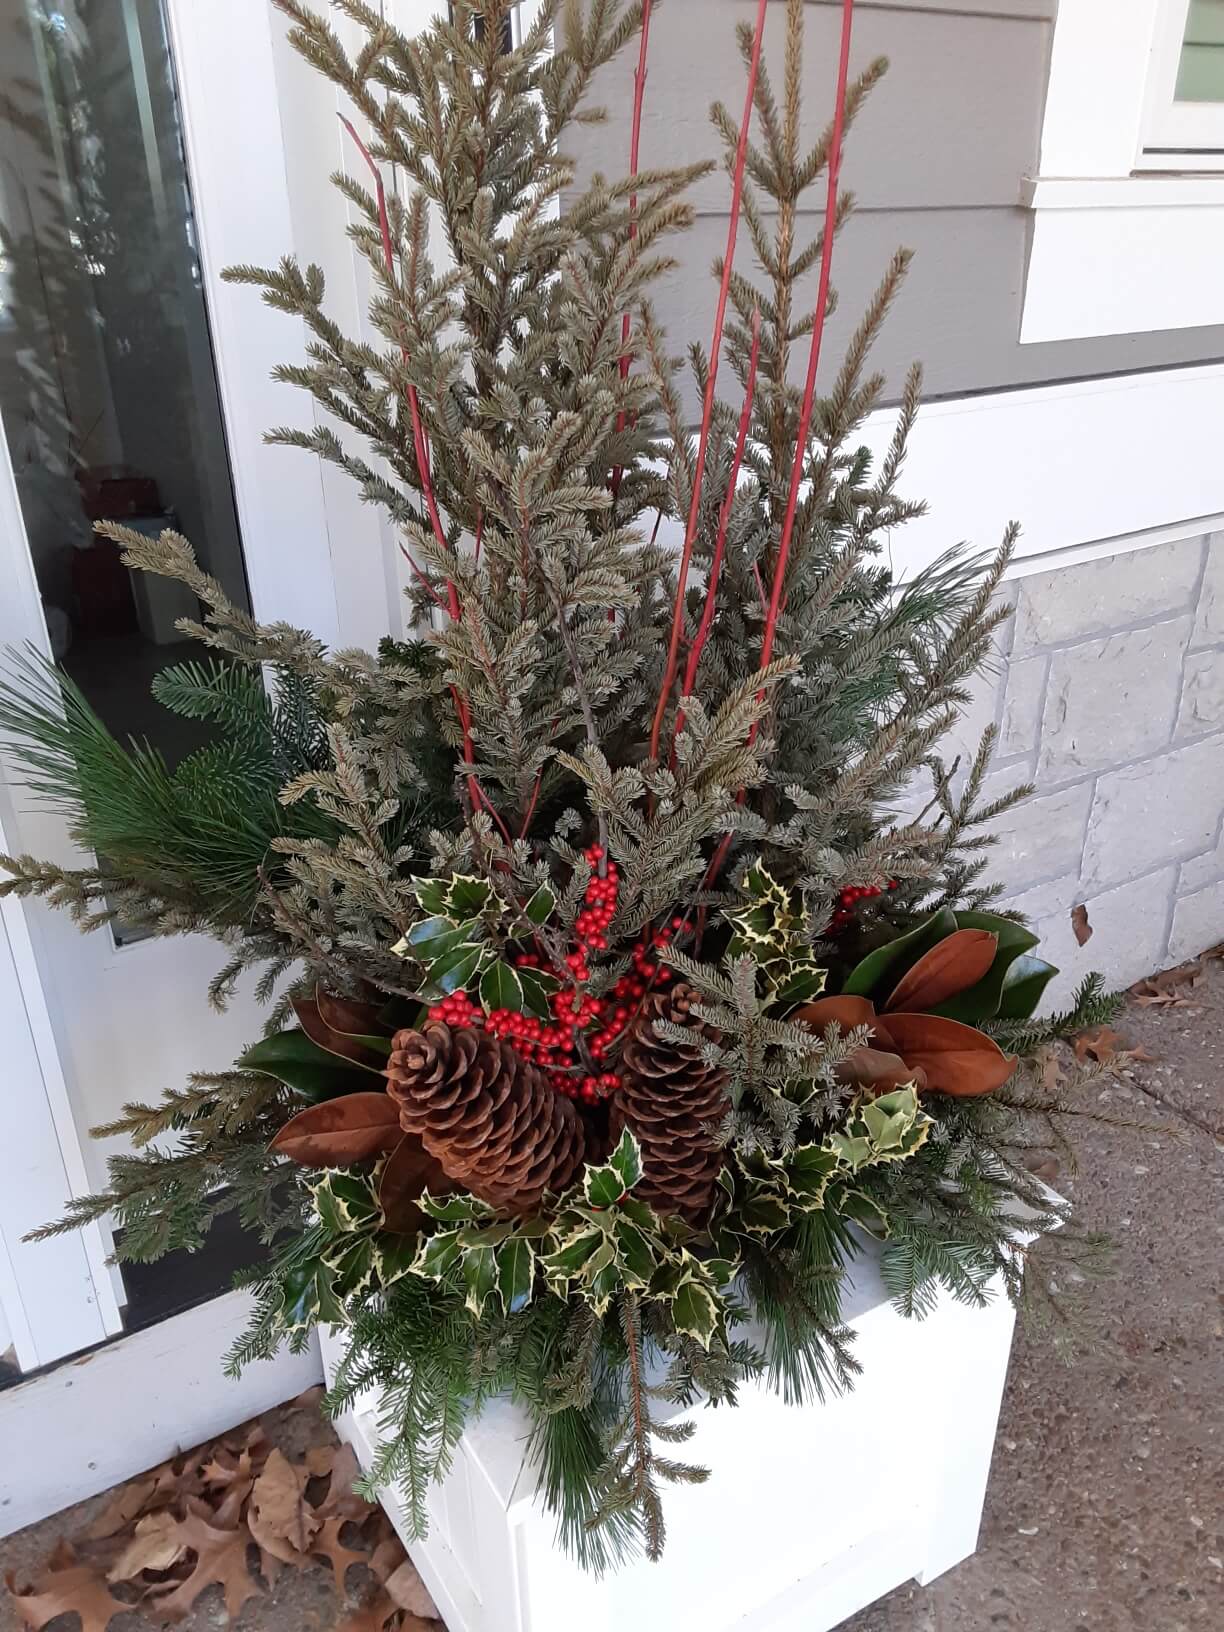
For the novice designer, using the rhyming cues thriller, filler, spiller as a guide takes some of the uncertainty out of the creative process. A thriller is the strong, vertical focal point of the piece, the filler adds weight to the design and moves the eye through the arrangement and the spiller finishes the visual journey by cascading over the sides of the container. If the arrangement is viewed from one side, then the thriller is typically placed towards the back of the container, but if it is seen from multiple viewpoints, then the thriller is usually centered. Fillers are meant to enhance, not compete with the thriller while spillers should unify the design and link the container to the ground below.
.jpg)
#3 SIZE IT RIGHT
Proportion is another element that is critical to the appeal of a container planting. Generally, the height of the plant material in a container should be one to two times the height of the container. Any less and the arrangement will seem unsubstantial -- almost unfinished. On the other hand, an arrangement that is too tall for the container will appear top heavy, as though a brisk breeze could knock it over.
1.jpg)
MATERIALS
Winter containers that combine living and natural materials (branches, seed pods, berries) with holiday flourishes (balls, bows, ribbons) not only celebrate the joy of the season, but also answer our ongoing need to connect with nature even in the middle of the winter.
While some areas of the country are lucky enough to have a variety of plant material that remains green throughout the winter, many more must rely on cut greenery such as branches of fir, pine and holly for “living” material. To keep these cut greens fresher longer, experts suggest spraying them with an anti-desiccant first. These sprays, often marketed under the names of Wilt-Pruf, Wilt Stop or Vapor-guard, add a waxy coating to the leaves and stems of plants. The transparent coating reduces the amount of water that escapes from the plant slowing the inevitable drying and needle drop of cut greens.

In contrast with the vibrant reds, yellows, oranges and purples of summer planters, wintertime pots tend to feature the more earthy shades of greens, browns and creams. To bring pops of natural color to arrangements, add branches of red or yellow twigged dogwood, scarlet or golden willow, variegated boxwood or white edged holly. For the holiday season, it’s easy to expand the color palette by using spray painted branches or purchased decorations as focal points.
.jpg)
If you're like me, when it comes to floral design, I do my best work when I a model to use as a guide. Embassy's Horticulturist and Seasonal Color Specialist, Jo Ann Prieto, creates beautiful winter containers that celebrate the best of the season as well as the best of the natural world. We invite you to take a minute and enjoy more of her work pictured below.
.jpg) Beautiful combination of greenery in a low planter.
Beautiful combination of greenery in a low planter.
.jpg)
Notice how the spiller anchors the arrangement to the ground.
.jpg)
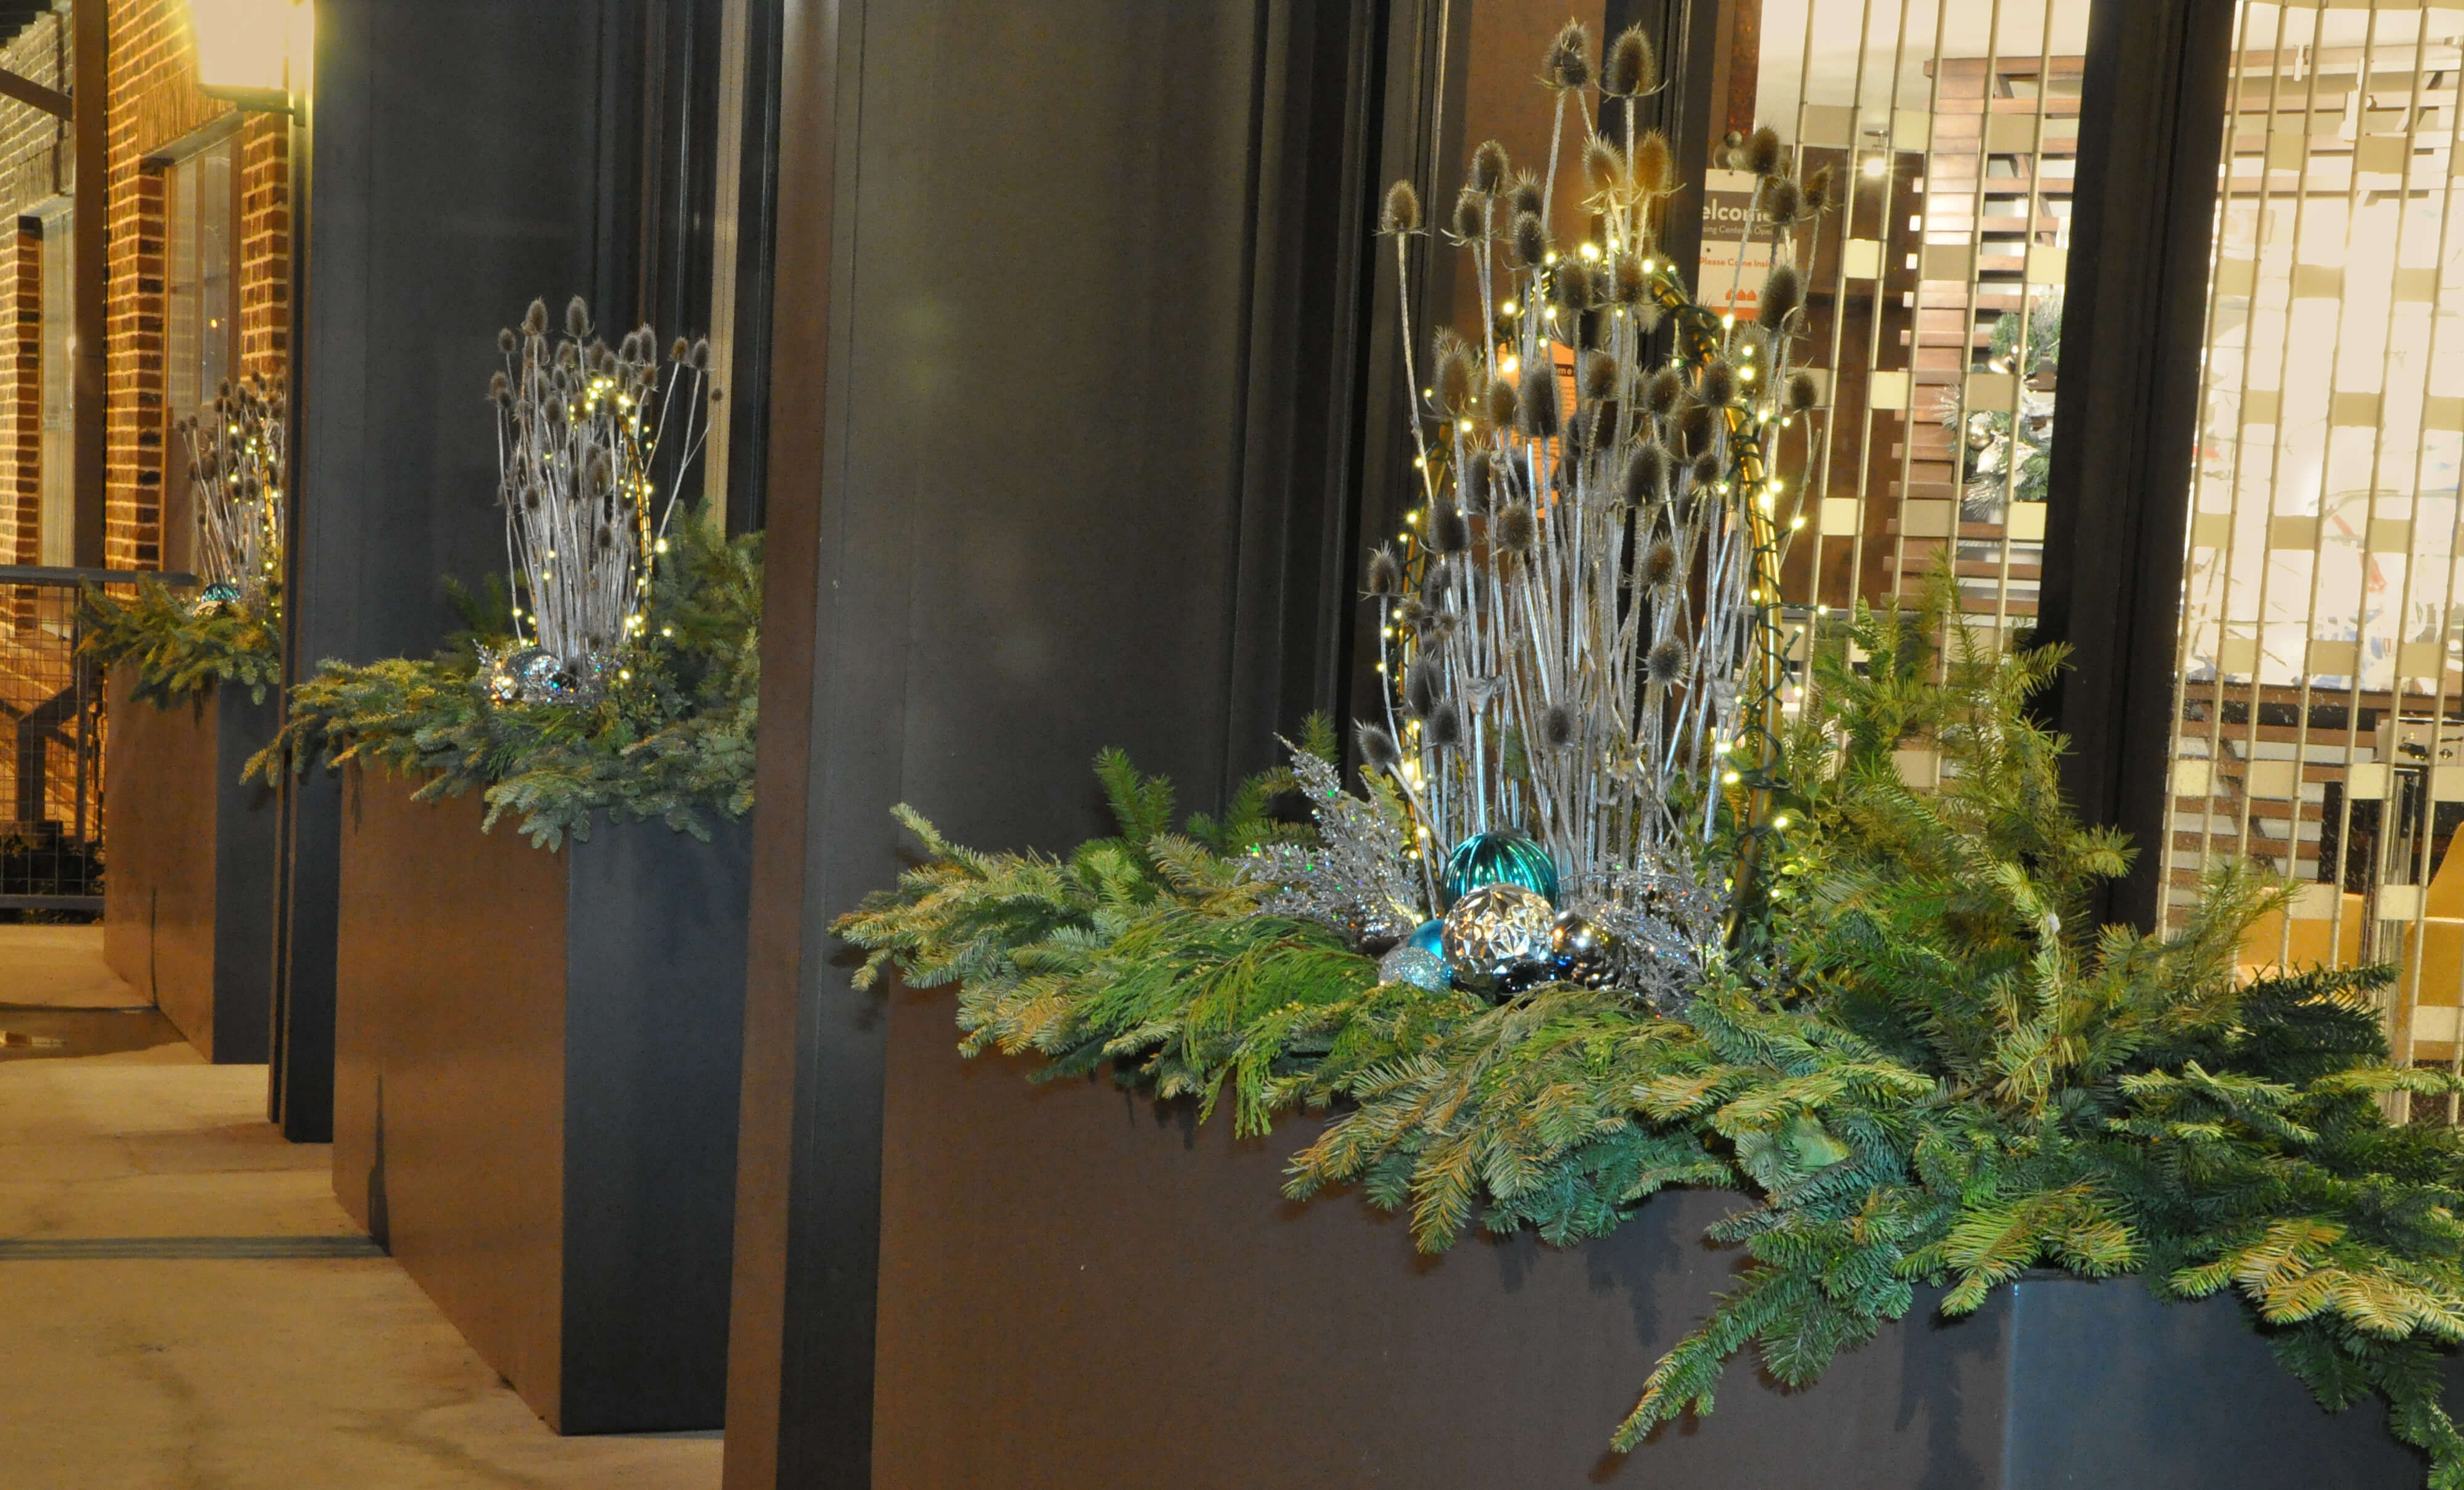
The repeated soft blues and greens give off a quiet elegance.
.jpg)
A massive pot needs a full display.

Adding lights brings the display to a new level.
And just a few more images to enjoy.


